

Knowing how to measure belt length is the difference between a one-trip parts run and a week of squealing, slipping belts. When the old belt is missing, shredded, or stretched beyond reading, you need one formula and three measurements. Whether you calculate it from the pulley sizes or wrap a string around the pulleys themselves, this guide gives you the exact length — plus how belt sizing conventions work so you order the right belt the first time.
Short on time? Our free pulley RPM calculator computes belt length automatically from your pulley diameters and center distance — but the methods below show exactly what it’s doing, so you can trust the number.
The belt length formula
If you need to know how to measure belt length from scratch — no old belt, no markings — this is the method. For an open (non-crossed) belt on two pulleys:
L = 2C + π(D + d)/2 + (D − d)²/(4C)
Where L is belt length, C is the center-to-center distance between the pulley shafts, D is the larger pulley’s diameter, and d is the smaller pulley’s diameter. Use pitch diameters where the belt rides for best accuracy. Wikipedia’s belt drive article covers the drive geometry behind this formula in more depth.
Worked example
Large pulley D = 8 inches, small pulley d = 4 inches, centers C = 20 inches:
- Straight sections: 2 × 20 = 40 in
- Wrapped arcs: π × (8 + 4) ÷ 2 = 3.1416 × 6 = 18.85 in
- Diameter-difference correction: (8 − 4)² ÷ (4 × 20) = 16 ÷ 80 = 0.20 in
- Total: 40 + 18.85 + 0.20 = 59.05 inches
Note how small the correction term is here (0.2 in) — for pulleys of similar size you can estimate with the rule of thumb L ≈ 2C + 1.57(D + d) (here: 40 + 1.57 × 12 = 58.84 in, close enough for a rough check). But with a big diameter difference or a short center distance, always use the full formula.
Method 2: the string method (pulleys already mounted)
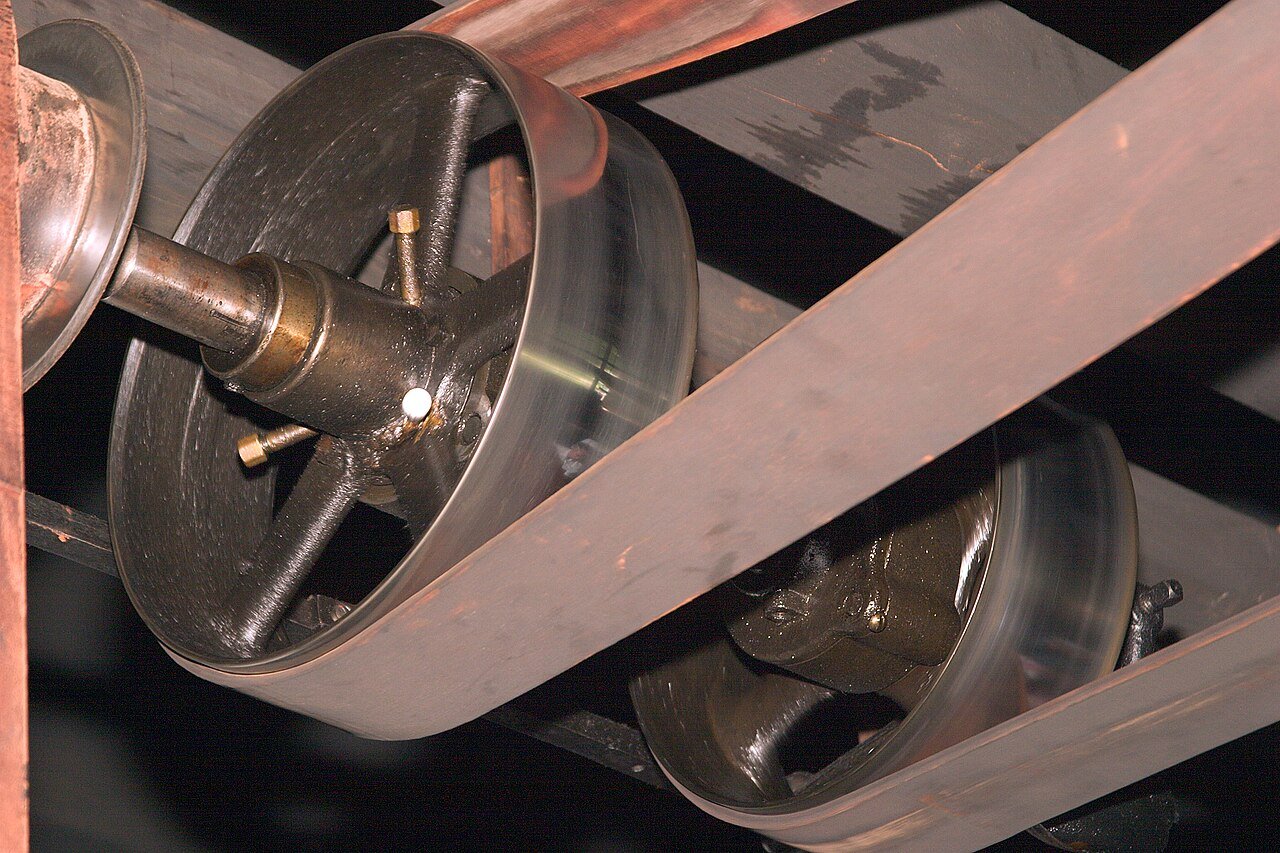
- Loop a non-stretchy string (mason’s line, not elastic cord) around both pulleys exactly where the belt would ride.
- Pull it snug and mark the overlap point.
- Lay the string straight and measure it with a tape.
This measures the true path length including your exact center distance — ideal when the motor is on an adjustable slide and you can’t pin down C. Take the measurement twice and average; a half-inch of string stretch is the difference between a belt that fits and one that squeals. It’s also the fastest answer to how to measure belt length on a machine you can’t take apart.
How to measure belt length from the old belt
If the old belt is intact enough to remove, knowing how to measure belt length from it is simple: wrap a tape measure around its inside circumference — belt nominal sizes are typically referenced to the inside for classic A/B/C V-belts. Stretched, glazed, or cracked belts measure long, so only trust this if the belt is in decent shape. Also check the width while you’re at it: the belt must sit in the groove with its top roughly flush — a belt riding too high or bottoming out in the groove will slip and overheat.
Belt sizing codes: read the number before you order
Once you know how to measure belt length, match your number to the code stamped on the belt — but know that each series measures a different part of the belt:
| Code | Series | The number means |
|---|---|---|
| A, B, C | Classic inch V-belts | Inside circumference in inches — an A44 is ≈ 44 in inside |
| 3V, 5V, 8V | Narrow inch V-belts | Outside circumference in inches — a 5V1120 is ≈ 112 in outside |
| SPZ, SPA, SPB | Metric wedge V-belts | Pitch (datum) length in millimeters |
| 8M, 14M | Metric toothed belts | Pitch length in mm — an 8M-640 is 640 mm (80 teeth × 8 mm pitch) |
The classic A/B/C vs narrow 3V/5V/8V trap catches a lot of people: the two series reference different circumferences, so the same nominal number is a different belt. When in doubt, a Gates A44 spec sheet shows all three measurements for one belt — nominal size, outside circumference, and effective length — so you can see exactly which number your tape reading matches.
How to measure belt length on a toothed belt (teeth × pitch)
Toothed (timing/synchronous) belts don’t stretch, so sizing by formula isn’t how to measure belt length here — you count teeth and multiply by the tooth pitch:
L = number of teeth × pitch
Worked example: a belt marked 8M has an 8 mm pitch. Count 80 teeth around the belt → 80 × 8 = 640 mm pitch length (640 ÷ 25.4 = 25.2 in). If the pitch isn’t marked, lay the belt flat and measure across 10 teeth, then divide by 10: 80 mm over 10 teeth = 8 mm pitch. Round your result to the nearest standard size in the manufacturer’s chart — toothed belts come in fixed tooth counts, and unlike V-belts there is no “close enough.” Wikipedia’s timing belt article shows the tooth profiles these belts run on.

Inside vs outside circumference (don’t order wrong)
- Classic A/B/C belts are usually sold by their inside (pitch-adjacent) circumference — a tape measured around the outside can read an inch or two longer than the nominal size.
- Metric SPZ/SPA/SPB and 3V/5V/8V narrow belts follow different reference conventions — always check the manufacturer’s sizing chart rather than guessing.
- Toothed (timing) belts are sized by tooth count and pitch, not length in inches — count the teeth on the old belt.
Rule: compute the true length, then match it to the nearest standard size in the correct convention. If you land between sizes, pick the one your tensioner or motor-slide adjustment can absorb.
Common mistakes
- Using outside diameters for V-belts. The belt rides below the outer edge — pitch diameter is what the formula wants.
- Guessing the center distance. Measure center to center of the shafts, not the gap between pulley edges.
- Ignoring the correction term on high-ratio drives. At 4:1+ with short centers, the rule-of-thumb estimate can be off by more than an inch.
- Forgetting to re-measure after a pulley swap. Any diameter change changes the required belt — if you resized pulleys to change speed (see how to change machine speed with pulleys), re-run the formula with the new sizes.
- Reusing a stretched belt measurement. Old belts grow — size from the pulleys, not a tired belt.
Belt tension: the deflection check
Ordering the right size is only half the job — correct tension is the step after you learn how to measure belt length. A belt installed slack slips and glazes; one pulled bowstring-tight destroys bearings. Use the deflection method: press the midpoint of the longest span with firm thumb pressure and measure how far it moves — about 1/64 inch of deflection per inch of span is the classic target. A 20-inch span should give roughly 20 ÷ 64 = 5/16 inch; a 32-inch span, about 32 ÷ 64 = 1/2 inch. Toothed belts run with much less tension than V-belts — just enough to keep the teeth seated.
Recheck after the first day of running: new V-belts seat into the grooves and need one re-tension.
Second worked example (high ratio, short centers)
Large pulley D = 6 inches, small pulley d = 2 inches, centers C = 14 inches:
- Straight sections: 2 × 14 = 28 in
- Wrapped arcs: π × (6 + 2) ÷ 2 = 3.1416 × 6 = 12.57 in
- Correction: (6 − 2)² ÷ (4 × 14) = 16 ÷ 56 = 0.29 in
- Total: 28 + 12.57 + 0.29 = 40.86 inches
The rule-of-thumb estimate here would give 28 + 1.57 × 8 = 40.56 in — off by 0.3 in, which matters on a drive with no tensioner. This is exactly the case where the full formula earns its keep.
Measuring center distance on a mounted machine
When the pulleys are already in place, don’t unmount anything to measure C — measure the distance between the two shaft centers directly with a tape or caliper (through the belt if needed; the string method avoids C entirely). If the motor sits on an adjustable slide, measure with the motor at the middle of its adjustment range, so the belt you buy has room to tension in both directions.
A note on crossed belts
Most drives run open belts (both pulleys turn the same direction). A crossed belt reverses direction and uses a different formula, roughly L = 2C + π(D + d)/2 + (D + d)²/(4C) — note the correction term now uses the sum of the diameters, making crossed belts longer for the same pulleys. The crossed-belt formula is a small twist on how to measure belt length, but crossed belts wear faster and are rare outside of old flat-belt machinery; if you’re unsure which you have, watch the rotation direction.
Frequently asked questions
Does belt length affect pulley speed or ratio?
No. Speed ratio comes only from the pulley diameters (see how to calculate pulley ratio). Length only determines fit and tension.
What if my calculated length isn’t a standard size?
Buy the nearest standard size and absorb the difference with the motor slide or tensioner travel — most drives have an inch or more of adjustment.
How tight should the belt be?
Snug with a small amount of give at the midpoint (roughly 1/64 inch of deflection per inch of span under moderate thumb pressure). Too tight destroys bearings; too loose slips and glazes.
Can I calculate center distance from a known belt?
Yes — the formula rearranges, and our pulley RPM calculator works out belt data including length and the center distance a given belt needs.
How much stretch should I allow?
None. When you work out how to measure belt length for a replacement, size to the true path and let the motor slide or tensioner absorb the difference — with the motor set at mid-travel when you measure. V-belts do stretch slightly as they seat in, and the tensioner exists exactly for that. Adding “a little extra” up front just buys you a belt that slips from day one.
Do I measure the belt on or off the pulleys?
Both work if you know which number you’re getting. On the pulleys (the string method) gives the true path length your new belt must follow. Off the pulleys, a tape around the inside of the old belt gives the inside circumference — which matches the A/B/C numbering directly. Either way, learning how to measure belt length both ways lets you cross-check one measurement against the other.
Got your length? Cross-check the whole drive — ratio, RPM, and belt speed — in the free pulley RPM calculator.